Step 1: Log in to Your WordPress Dashboard
To begin, log in to your WordPress website by visiting the admin login page (typically www.yourdomain.com/wp-admin) and entering your login credentials.
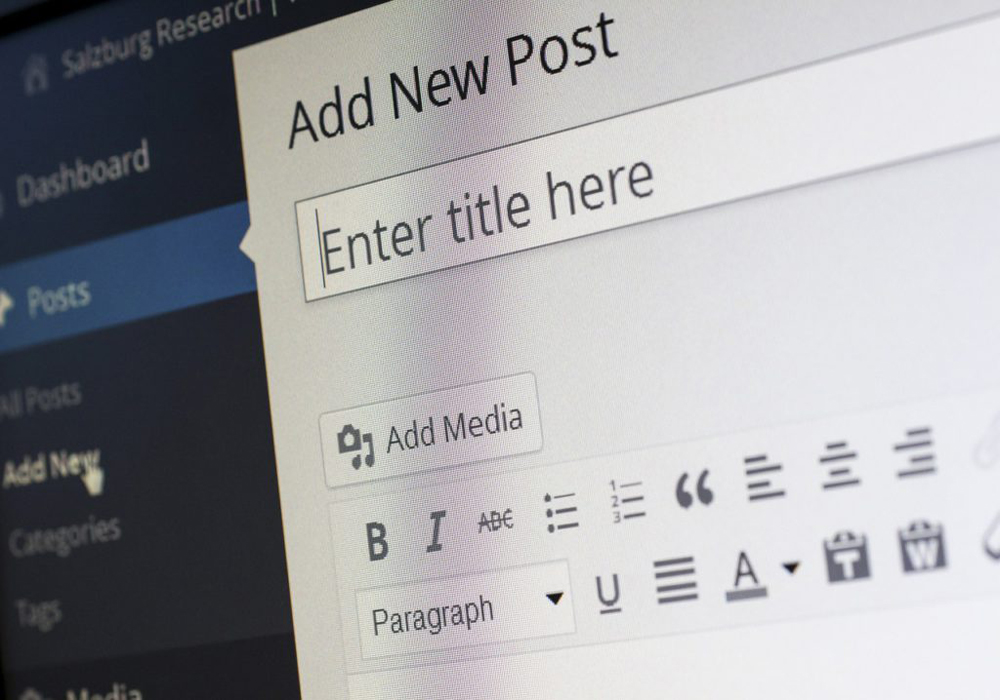
Step 2: Access the Posts Section
Once you’re logged in, you’ll be directed to the WordPress dashboard. On the left-hand side, navigate to “Posts” and click on “Add New.” This will take you to the post editor screen.
Step 3: Enter the Post Title
In the post editor screen, start by entering the title of your post in the designated field at the top. This should be a concise and descriptive title that accurately represents the content of your post.
Step 4: Write the Content of Your Post
Below the post title, you’ll find the post editor area. This is where you can write and format the content of your post. You can use the provided text editor to format the text, add headings, create lists, insert links, and more.
Write your post content using the editor. You can switch between the Visual and Text tabs to toggle between the visual editor and the raw HTML/text editor, respectively.
Step 5: Format and Style Your Content
WordPress provides various formatting options to style your content. You can use the toolbar above the editor to format text, align paragraphs, apply heading styles, create bulleted or numbered lists, add media (images, videos), and more.
Additionally, you can use the toolbar buttons to add media, insert links, create quotes, add code snippets, and perform other formatting actions.
Step 6: Add Categories and Tags (Optional)
On the right-hand side of the post editor screen, you’ll find the Categories and Tags meta boxes. These allow you to assign relevant categories and tags to your post.
Categories help organize your posts into different topics or sections on your website. You can select existing categories or create new ones directly from the post editor.
Tags provide additional descriptive keywords that are relevant to your post. You can add tags that are associated with the content of your post to enhance discoverability and improve navigation on your site.
Step 7: Set a Featured Image (Optional)
In the post editor screen, you can set a featured image for your post. This is the main image that represents your post and is often displayed alongside the post title or in post listings.
To set a featured image, locate the “Featured Image” meta box on the right-hand side. Click on the “Set featured image” link, and then either select an existing image from your media library or upload a new one.
Step 8: Preview and Publish Your Post
Once you have finished writing and formatting your post, you can preview how it will appear on your website by clicking the “Preview” button. This allows you to review your post’s appearance and make any necessary adjustments before publishing.
When you’re ready to publish your post, click the “Publish” button. Your post will now be live on your website and accessible to your visitors.
You can continue to edit and update your post as needed by going back to the post editor screen and making modifications to the content, formatting, categories, tags, and featured image.